• info@respacelocal.com
  • +1-808-600-0218

Let’s set-up the Rockspace wifi range extender:

  • Using the WPS mode:

    Turn on the extender. Turn on the plug after connecting it to the power outlet. After that, wait for the blue LED light to lit up. During setup, make sure the extender and wi-fi router are in the same room.

  • When the blue LED light appears

    When the blue LED light appears, press the router's WPS button. Now, wait for the blue LED light on the repeater signal. Within two minutes of pressing the WPS button on the router, you must press the WPS button on the extender. Once configured, the extender can now be unplugged and moved to the new location. Make sure there isn't too much distance between the extender and the router.

Thumb
Using an Ethernet

cable to set-up

Contact Us

Utilize an Ethernet link to interface your wi-fi extender to your PC. Now, open a web browser on your computer and navigate to the Rockspace extender's login page. In the address bar of your web browser, type one of the following URLs: http://192.168.0.254 or re.rockspace.local.

A login page will now appear. Enter the Rockspace wi-fi extender's login information, which can be found in the box. You will be taken to the extender setup page once you log in. To get started with the setup, select the extender option now.

Adhere to the on-screen directions that you see, and you will be directed to the most proficient method to set up the wi-fi extender. The wi-fi extender can be set up with the help of these on-screen instructions. To save the changes, click the save button next.

You can move the extender to a new location when you are finished. Bring the Rockspace range extender to the new location after unplugging it. Check to see that the location where you intend to keep your Rockspace range extender is halfway between your wi-fi router and the locations where there are no connections. Now connect your device to the extender by plugging it in. Check to see if the extender can connect to the internet in the dead network spots.

How to Reset Rockspace wifi extender?

How to Reset Rockspace Wifi Extender?

Through the Reset Button

: Locate your range extender’s Reset Button*. Press the Reset Button with a pin for eight seconds while the range extender is powered on. The range extender will then reset itself when you release the button. Also note: For Rockspace AX1800 Territory Extender, the Reset Button is on the left half of the gadget. The Reset Button for the Rockspace AC750, AC1200, and AC2100 Range Extender can be found on the device’s bottom.

Using a Browser

Connect to the network of the range extender. The extender ends its network by default with either _EXT or _5G EXT. Access the range extender’s web management page by logging in. Click Reset in the Administration section. The range extender will reset itself on its own.

How can I verify that the reset of my range extender was successful?

Check the following to ensure that your range extender has been reset to factory settings. Only the Power LED is lit, and the Signal LED ought to be off. Your network list will no longer include the network of the range extender. In a few minutes, the network rockspace_EXT will appear. You can likewise run an Ethernet link from the reach extender to your PC. Type http://re.rockspace.local into a web browser (RSD0607, RSD0608, RSD0617, and RSD0618). Alternatively, in the address field, type http://rockspacewifi.com (RSD0623). The setup page will reload and appear as if it were a brand-new login page, asking you to create a new password

How can Rockspace extender firmware be updated?

Rockspace extender users can update their firmware by logging in to the extender page. The page can be accessed by using the router’s IP address (notice: 192.168.0.254 or Re.rockspace.local).

Strategy

On the Rockspace extender Setup page, after logging in, you must select the "Administration" option. Select Firmware update from the Administration menu. The most recent Firmware file needs to be located on your computer To upgrade the firmware, click Install, and it will take anywhere from 2 to 3 minutes Your Rockspace extender will reboot during the update; ensure that the power is not turned off. Otherwise, there is a possibility that the extender will fail

How can the Rockspace wi-fi extender not working problem be fixed?

The extender might be disconnected from the router if you don’t see a solid signal light on it. It occurs whenever you modify the configuration of the router, update the firmware, or alter the wireless password. The troubleshooting steps for each and every possible cause are listed below. a) If you haven’t updated the firmware on your router or extender, try power cycling them. b) Your Rockspace extender must be reset if the main Wi-Fi password has been changed. Likewise, reconfigure it with the new secret word. Check to see that the extender is not connected to a surge protector.

Thumb

How to Setup

Re Rockspace Local Range Extender?

Logging into Rockspace range extender will help you configure the settings of the extender. If you don’t know how to log in to Rockspace range extender, then just type re.rockspace.local. On this website, we will be discussing how you can setup rockspace ext and login up with the existing wi-fi network

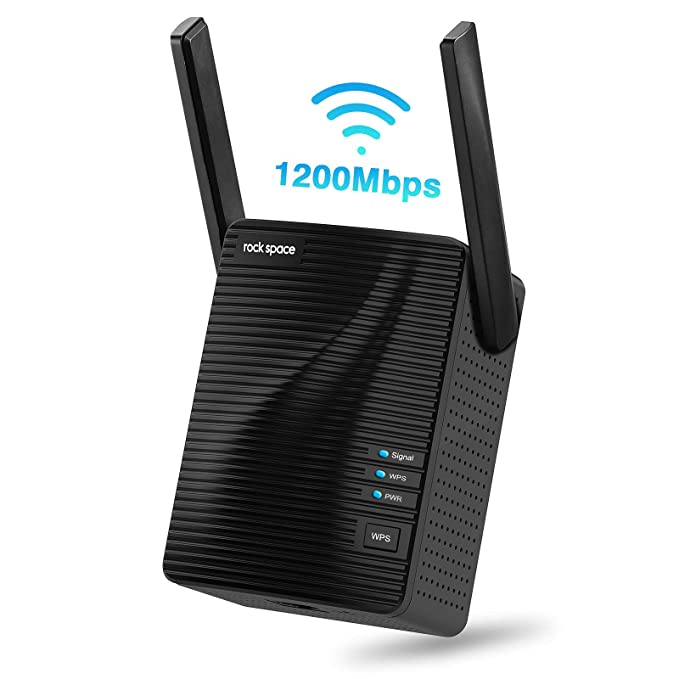
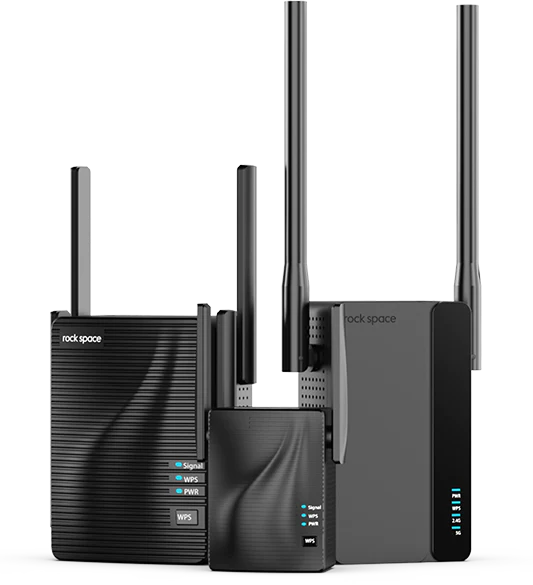
  • Items required for setting up the Rockspace extender

    The router and your Rockspace extender will be required. ID and password for logging in to the extender’s dashboard. You can find it in the box or below the extender. Use the password that you have set if you have changed it. Mobile or computer with a browser (google, safari, firefox)

Thumb

Login Instructions for

Rockspace range extender:

Connect the extender to your mobile device or computer. The extender can be connected to your computer or mobile device via wi-fi. On your computer or mobile device, open wi-fi and search for the wi-fi network “rockspace_ext.” Now connect to the extender’s wireless network.

  • Open your web browser after connecting your device to the wireless network. Enter the URL http://192.168.0.254 or http://re.rockspace.local into your web browser. A login page will now appear.

  • Now, fill in the login information on the form. After entering the ID and password successfully

  • After logging in, you will be able to access the Rockspace range extender's dashboard. From here you can undoubtedly change the settings of the extender that you are utilizing

  • Changing the name, password, and network security are all simple modifications that can be made to the settings

How can the Rockspace wi-fi extender not working problem be fixed?

Rockspace extender displays no signal light.

  • The extender might be disconnected from the router if you don’t see a solid signal light on it. It occurs whenever you modify the configuration of the router, update the firmware, or alter the wireless password. The troubleshooting steps for each and every possible cause are listed below.
  • a) If you haven’t updated the firmware on your router or extender, try power cycling them.
  • b) Your Rockspace extender must be reset if the main Wi-Fi password has been changed. Likewise, reconfigure it with the new secret word. Check to see that the extender is not connected to a surge protector.

The Rockspace Extender has a red light.

The Rockspace extender has a connectivity problem if its red light is on. It occurs when your main router is unable to transmit a wireless signal to your Rockspace extender. or numerous walls separating the router and extender. To resolve this issue, try the troubleshooting steps listed below.

  • a) Attempt to connect the extender to the wireless network. They differ from one model to another in how much distance they can cover. Place your extender following the instruction manual.
  • b) Check the router’s settings for the wireless channel. Set the channels to the Auto mode or increase them.
  • c) For improved performance, try updating your router’s firmware.

On the Rockspace extender, blinking lights.

If the lights on your Rockspace extender are constantly blinking, the problem is with the hardware. Additionally, a corrupted firmware update may be the cause of this. Your extender shuts down during the firmware update, which is the cause of the corrupted update. To resolve this issue, try the below troubleshooting steps.

  • a) Give the Rockspace extender a reset attempt. While it is plugged into the power source, press the Reset button for twenty seconds.
  • b) Attempt to reinstall or update the firmware. Try to get a new one if your warranty still covers it.

Latest Blogs

Call Now